


Moving onto the actual build, experience (having built the add-ons first, see last blog entry) made it easier to not make mistakes on the main building, especially on the center run of columns!


I took the end pieces and used a pen to mark a line where I needed to make my cuts. Then it was out to the shop. I bought a jewelers saw a few months ago to help cut some Persplex I used for my custom asteroids for Star Wars X-Wing and this thing worked brilliantly cutting through the MDF. If you have precision cutting to do of any kind, I can't recommend these saws enough! The last photo shows the end result with all the sides glued together.


I then started to put the edging on around the roof. This is a really nice detail that makes it look like there are tiles running all around the edge. I had extra pieces from the roof parts I eliminated, so just a few quick cuts and those were used to fill in the holes nicely.


I also added a small detail on both sides of the top of the building that I put "1891" on it to give a little more narrative to the building. 1891 was the year that Wrigley's was founded, so I thought maybe this small detail could show how this could have been the very first building constructed for the new company.


I decided to use the roof tile from the parts not used to create the raised platform. It was back out to the shop though to cut the right side with the notches in it. By creating the elevated area, I was also able to use some left over steps from my old west buildings.


Once that was cut, it was glued into place. Next to create some texture to this particular area, I took some sand paper, again cut it to size and then painted it flat black. This gave the roof top a rough tar/shingle type of look, and I think it looks the business! Below are the test photos with the air conditioner, the blower, cyclone vents, and the main sign.


Next up was to make the large billboard that will sit on the top of the roof. It was off of Ebay that I found some billboard supports from Miller Engineering (the same company that make the animated signs I had originally thought of using). The main board for the sign came from the other side of the roof part I didn't use - the tile created a nice detail to the back of the sign and also along the top, making it look almost like a crown in a way. "The King of Gum in Chicago, Wrigley's!"


The rest of the build went together rather easily; again building the add-ons first helped catch mistakes that I knew were going to be there because of missing pieces, mis-labels, etc. The missing step was there again. The windows on the first floor didn't match up. I did get an extra set of the office walls, which is nice because I can create another room on one of the floors, I just need to decide where I want to put it. Though I won't have a window for it, so I'll have to improvise that.


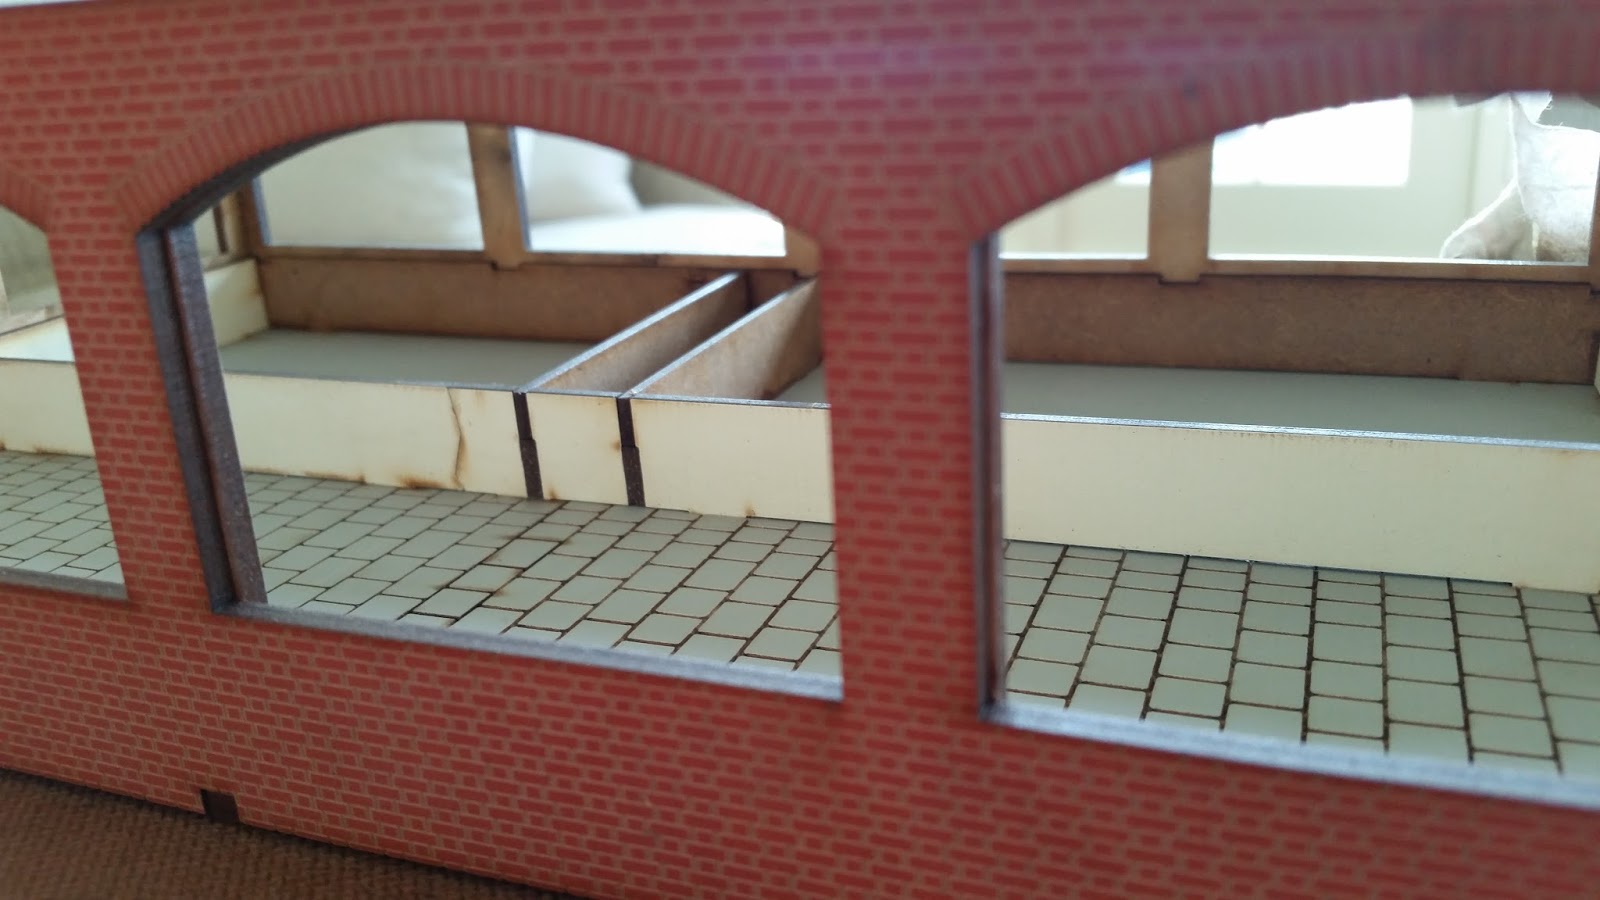

I do have to point out a huge issue though that was extremely frustrating. Again, I realize that these were some of 4Grounds first ever kits, but still frustrating. One of the columns for the second floor did not have the correct pieces to complete it. I had two pieces that were smaller - used for the run of columns on the first floor - and was unable to complete the column without creating something to fill the giant gap.


Another issue I had was the first floor center column run. It had to be sanded down so the second floor would lay flat. Every column sat higher than the arches, which cause the second floor to rock back and forth. I used a Dremel and then a sanding block to get everything even. 4Grounds Burnt Wood paint got everything matching again, so no real problem.


I had to have a truck for the building, so I threw a sign on a Matchbox car from their Yesteryear line. They are 1:48 scale so they are pretty close to a match for 28mm. I painted the trim, door and panel lines black to give the truck a better look; the second photo.


I thought that the building looked a little better with only one add-on floor, as opposed to two. I felt it just seemed a bit too tall with two add-on floors - as pictured below. I don't know, maybe I'm wrong, let me know what you think in the comments. Though I probably should have placed another building next to it to give an idea of the scale. If the one add-on seems to be the preference I'll have an extra to sell, so if someone needs one be sure to contact me.

While staging the final photos, it became apparent very quickly that I don't have an urban type mat or a city like board! Obviously a pretty big problem. I'm kind of on the fence with my Cigar Box Battle mats I have now and I know they just announced a 'Roaring 20's' city mat that could work for 1930's Chicago (though TMP members pretty well called them out on several issues if it's considered a true 1920's mat); while absolutely brilliant for getting a table set up quickly, there is just something that is off in my eye. I love tiles and permanent boards, but I'm not sure that is something I can pull off right now. Another hurdle I guess.


Can't have a liquor raid without crates labeled with a red leaf, right?

"No, what?"


Wow! He was right; it looked just like the firehouse from Ghostbusters! So I took the building upstairs for a couple of quick photos with the boys and Slimer before I started in on the Wrigley's signs. Looks pretty darn close anyway!
Hopefully next post I'll have a box full of Great Escape Games 'The Chicago Way' products to show off. Until then, here endeth the lesson! :)
As always, thanks for looking!
Ivor
Great build! Thanks for posting it all.
ReplyDeleteThanks! Really appreciate you taking a look!
DeleteLooks superb! Definitely a great centrepiece for a table. I think your version of the roof looks heaps better.
ReplyDeleteThank you! Very pleased with how the roof turned out, it's always scary when you make that first cut - no going back after that! 4Ground has a really neat police station from the same line that I've thought about picking up, but again, the roof seems a bit odd looking to me - though maybe it's just me, as I'm not familiar with English architecture in the late 1800's :)
DeleteThe extra effort and detail are well worth it - superb!
ReplyDeleteThanks, very much appreciated! Can't wait to be able to use it in a game!
DeleteThanks for the great step-by-step! I'm currently at work on a strip mall for Project Z and Walking Dead using Sarissa's Modern Retail kits, and I'm going to use the Miller Engineering window signs and Woodland Scenics Just Plug lights wired underneath the table section. I think I've solved the game play issues. You've given me some additional ideas, so thanks again!
ReplyDeleteAbsolutely! Glad that you were able to get some new ideas, best of luck on your mall, sounds cool especially with the lights! That's definitely something that I wish I'd done on my Chicago Way board.
Delete